Showing posts with label Sensory. Show all posts

March 8, 2015

Building A Sensory Light Table (on the cheap!)

I've been adding elements to our sensory room (I promise to post a new picture soon!). I wanted to make sure to address visual sensory needs more fully, so this weekend I built a light table. The requirements for this project was that the finished result needed to be:
(1) easy to build
(2) easy to store
(3) super cheap.

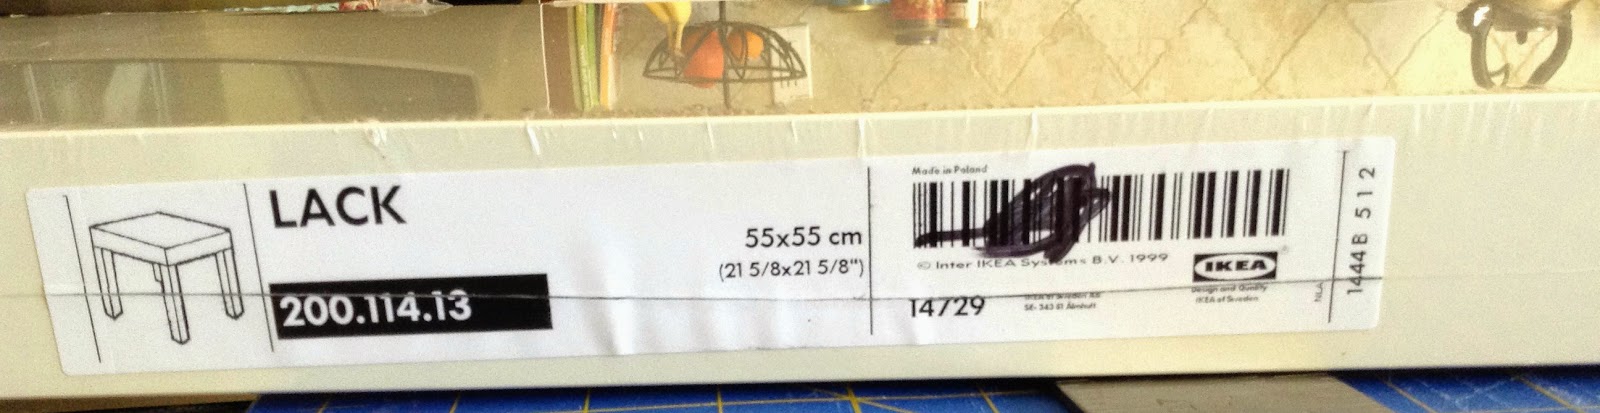
I stumbled across an Ikea Lack end table on clearance for $4 last week and picked it up hoping it would be something I could use for this project. Even if I'd had to buy it, the sale price was only $7, so that wouldn't have broken the bank. I've also seen these often on Craigslist.



The only other supply I needed to purchase was something to cover the top. Originally, I wanted to use plexiglass, but after pricing the size sheet I would need, I decided that the $25 price tag was more than I was willing to spend. Instead, I picked up a sheet of plastic paneling that covers florescent light fixtures. It cost $9.


The last item I needed was lights. Buying short florescent light fixtures was going to bump the cost back up, so I snagged a strand of 100 white Christmas lights.


Now, the how-to:

The top of the Ikea lack table is actually filled with corrugated cardboard and covered with a thick layer of laminate. I measured about 2" in from each side and started scoring through the laminate with a utility knife. This took a little while and a little muscle. Once I got through the laminate, I had to stick the end of my utility knife in and wiggle it back and forth to force through the final underlayer of laminate.


Pry up the laminate. You'll see the cardboard beneath.


Scrape out the cardboard. Get rid of all the loose bits clinging to the glue at the bottom.

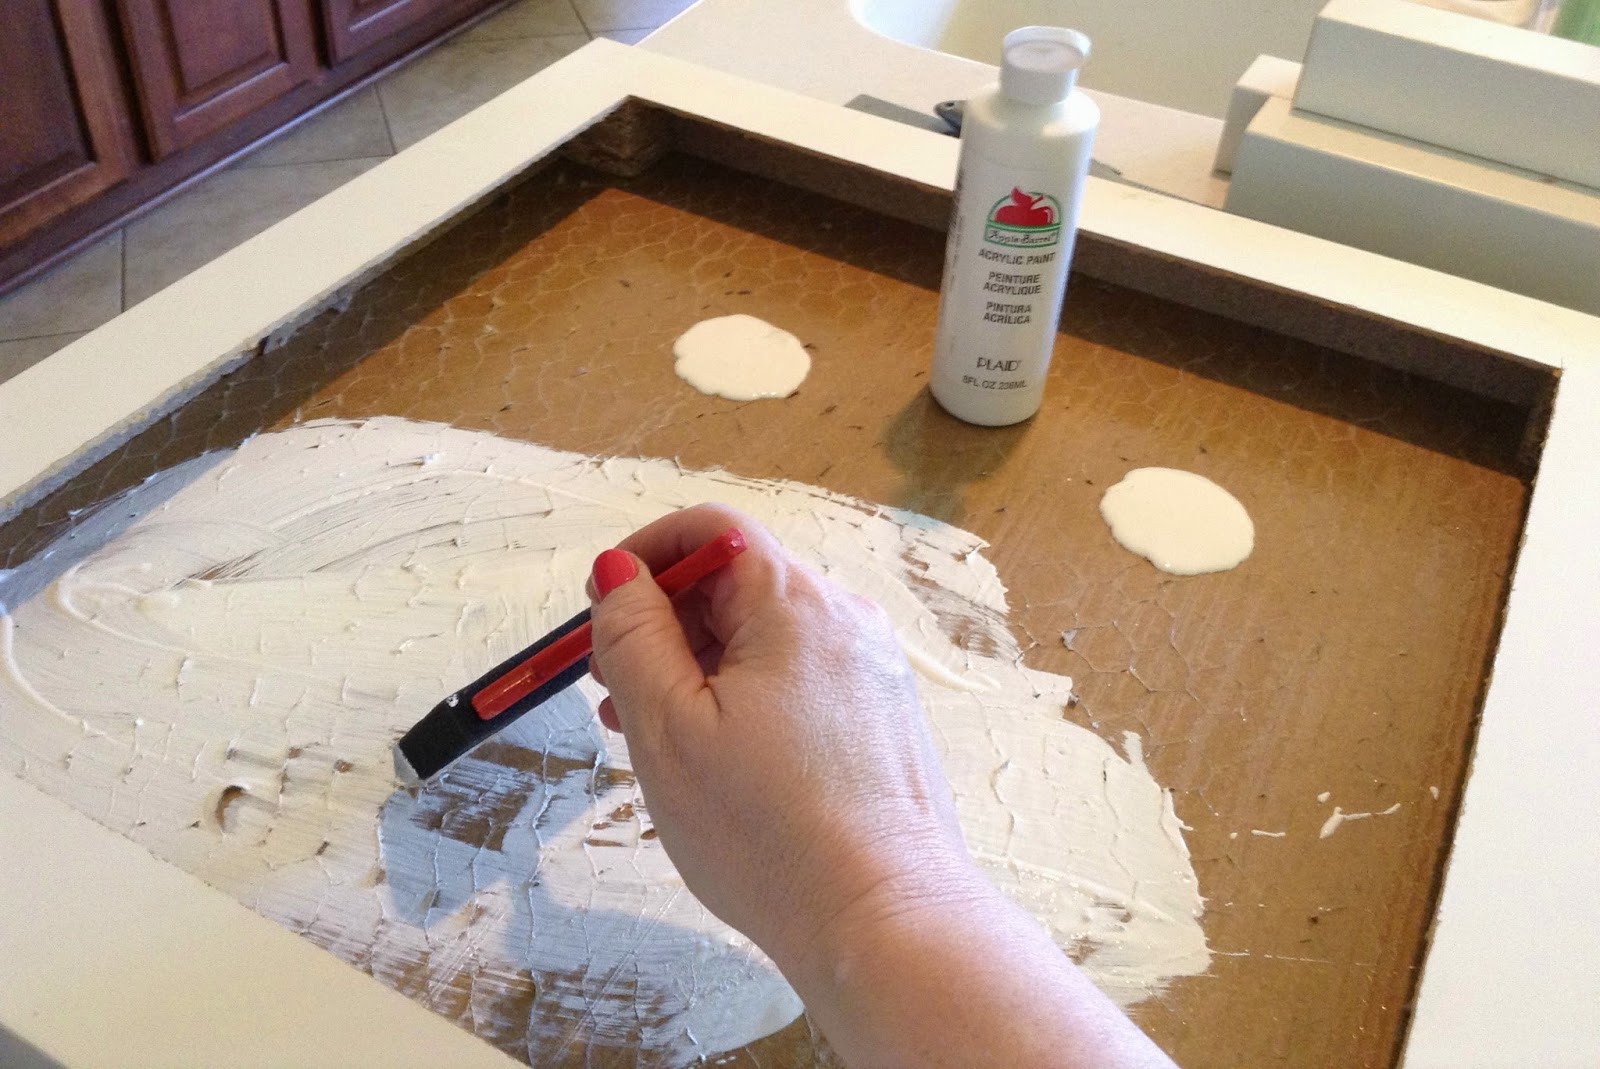
Paint the bottom with white craft paint and a sponge brush. This does NOT have to be perfect. You'll never see it. You just want to white to help reflect the light.


Screw your table legs in place.


Now, the tricky part. Because I didn't want to invest in a battery pack, I had to create a hole large enough to fit the female end of the light string. The largest drill bit I own is 1/2" which wasn't large enough. So, I did a combo of drilling a couple of holes close together and then using a large flat head screwdriver as a chisel and hammer to break away the remaining wood. Is it pretty? No. Is it functional? Yes. And I figured since it would be facing the wall, I'd just touch it up with a little white paint and no one would be the wiser!


Feed the lights through the opening leaving just the plug portion exposed to attach to an extension cord.


Arrange the lights across the surface. To keep them from shifting, I tacked some of the cords in place with a little clear packing tape. If I'd had a choice of lights, I would rather have used ones with white cords. But finding Christmas lights in March is not easy! I decided I either had to be less picky and ignore the green cords, paint them, or wait to build this once stores started stocking for Christmas. I voted for ignoring!


Now, I had to cover the top. Here's what NOT to do! Sigh. The width of the light panel was a little less than 1/4" larger than I needed. I elected to let it overlap each side about 1/8" instead of trying to cut the brittle plastic. The problem was that the entire panel was 48" and I only needed two pieces measuring 21 1/2". At first I tried scoring it with the utility knife with no luck. We're talking brittle hard plastic. 


So, I finally got frustrated and slowly bent the two pieces together *hoping* that it would just split in half. Well.....it did, but not evenly. One side was fine. The other had a corner break off. And shards of brittle plastic shooting all over my kitchen. Yikes. I do NOT advise being impatient like me! In retrospect, I would have wrapped masking or painters tape on both sides of the plastic and either tried to cut it with a jigsaw or a router. It still might come out a little uneven, but I suspect it would be better than my mess. If you have the money (or are too perfectionistic to live with imperfections!), order plexiglass or an acrylic sheet cut to size. If you go the route I did, just know that it will NOT be perfect. But it will work. If I worked in a clinical setting where we might use this table many hours a day, I would spend the extra money. But since I'm in a classroom setting where we will only use it in short increments across the day, this will be durable enough for our purposes. Use your judgment.

Because of the flex of the plastic, I laid the two bumpy sides together, so the strength would be doubled. It worked well and also helped by bluring the view of the light strings.

Last, apply a little tape on the corners of the plastic, lay it in place and drill a hole in each corner. Peel off the tape, clean away your sawdust, and use wood screws to attach.


We are using our light table with translucent geometric shapes. Magnatiles are on my wish list to add to our light table stash. We also plan to do artwork by covering the table in translucent plastic wrap (to prevent seepage) and then use additional clear plastic sheets to paint or draw on. The play of light on different art materials will be great fun! 


Questions? Post them below in the comments! Happy light table building! ~Kelley

September 21, 2013

Check Out Our Sensory Break Space!

I'm doing my happy special ed teacher dance! You know....the one that goes like this?


Elaine Dance photo ElaineDance.gif
Yes, I'm a Seinfeld fan. I mean, seriously, how many moments in our lives are identified with Seinfeld references?! Low talkers, close talkers, fat free yogurt, "No soup for you!", Mulva, puffy shirt, Festivus for the rest of us, Junior Mints. In fact, when I searched for this image I started laughing so hard my TA thought I had lost my mind! I know, I know...Topic Twister invaded my brain for a minute. Sorry about that! Back to the topic ~ Our New Sensory Break Room!

This year our school had a classroom that was being used for other purposes. My brilliant and fantastic principal gave us permission to expand our sensory break space into this room since our space was so limited in our tiny little classroom. I'm counting my lucky stars to have it for as long as I get it. I know it is HIGHLY unlikely we will have it next year. So, we are enjoying it while we do!

Check out our Gross Motor Center (complete with racetrack!)....


Our Fine Motor Center....


And our Calm Body Center...


I change out the activity offerings in each center (except the gross motor center which remains the same) on a weekly basis so it can stay interesting to the kids.

The kids check in at the Learning Zone poster when they enter the room.

They then choose a center that will help get their bodies into the green learning zone.

We are also working with Leah Kuyper's Zones of Regulation curriculum to help us identify "tools" for our ready to learn toolbox.

This week, we will be working to identify the effect various "tools" have on our emotions. Each child will have his own "toolbox" available.  Click here to download a copy of the toolbox.

This space has been such a blessing! We are able to start our days feeling good, conduct periodic sensory breaks as needed (or as scheduled!) during the day, and end our day in the room while we wait out the noisy chaos of dismissal. This has helped us start and end our days feeling calm!

I know that it is unlikely that we will have this space every year, but even if we don't I can use the same centers model with smaller and easier to store activities.

Thanks for checking our our Sensory Break Space!
~Kelley

July 30, 2012

How To Make A Sensory Tent For Small Spaces


For the past couple of years, I had a big, roomy classroom with plenty of space for everything. Because our school is growing so quickly, I knew that it was only a matter of time until I lost my big classroom and would be moved to a smaller space. I really did not want to end up having to share a room with a bunch of other teachers (been there...done that...doesn't work so well for my students!). I decided to offer to preemptively move into a small therapy area with the hope that it will be the last move for a while and that I will only share space with my Paraprofessional.  I knew it was going to be a big adjustment and that I would have to be very deliberate in what I chose to put in the space.

Sadly, I realized that my favorite tent was going to take up too much floor space. I took an inspiration picture from Pinterest (of course!) and decided to tweak it to meet my needs. Here's the inspiration photo from Sew Liberated.

Drum roll please..... Here's my new Sensory Tent!

It takes up much less space than the old square tent. The only addition I have left to do is add a piece of Velcro from the inside so the kids can keep the flap closed if they wish. Inside the tent I put one of my beanbag chairs and I'm on the hunt for a square rug to anchor the space. I also have a weighted teddy bear that the kids can take in the tent with them as well as a blanket.


 Here's the tutorial to make an inexpensive Sensory Tent!

1.    Gather your supplies: I chose to use an old bent hula hoop from my gross motor equiment. It is a child's size (about 30" diameter). You could go even smaller if you got one that is a 24" diameter.  Using a 50% off coupon, I bought 3 yards of 45" wide cotton fabric (the blue and white stars) and 3 yards of 90" wide bleached cotton muslin.


2.   Cut the hula hoop in one spot. I used my handy dandy PVC cutter that I bought for the therapy ball rack project and pvc screens. Check those out here. If you don't have one, just use a hand saw. Your hula hoop will probably be too hard to use scissors.


3.  Next, I cut my blue & white fabric into two sections (2 pieces - 1 1/2 yards each) and sewed them together using one 1/2" seam to make a long rectangle (1 1/2 yards x 90" finished). You can see the seam in the picture above of the hula hoop.

4.  I knew that the circumfrence of my 30" hoop would be about 96", so I was going to be a little short if I wanted the tent to be able to close. I decided it was important for the kids to be able to visually block out as much stimulation as possible, so I cut two 4" x 1 1/2 yard strips from the muslin and stitched one onto each side of the rectangle to now have the rectangle measure approximately 1 1/2 yards x 98". Sorry, I forgot to take a picture of that step!

5. I ironed in a 1/2" hem along the two exposed white edges and stitched.
  

6.  Next, I ironed in the bottom hem and stitched. I think I only did a 1/2" hem because I was trying to preserve as much length as possible.

7. Then I ironed in and sewed a rod pocket along the top. You will need to make sure you allow enough fabric to account for the diameter of your hoop plus a little for wiggle room. I made a 6" pocket which was more than enough. I probably only needed a 3-4" pocket. So, play with your fabric and see how much you really need.
 

8. Then I slid the cut end of the hoop through the rod pocket.

9. I taped the two cut ends together with duct tape. After taping, I rotated it around so that it would never be seen in the opening between the panels.


10.  After making sure the tent was evenly distributed around the hoop, I cut 4 evenly spaced SMALL holes in the rod pocket and ran a long piece of hemp twine through each one, knotting around the hoop. I already had the twine. If you don't, just make use of what you have (regular twine, heavy yarn, fishing line, etc.).


11. I decided how tall I wanted the "peak" to be and tied off all 4 cords into a tight knot. You can't really see it in the above picture, but it is underneath the white fabric.


12. Next, I took the remaining white muslin and cut a 90" square. I made a small cut in the very center that was just big enough to go over the knot in the twine. Once the fabric was over the knot in the twine, I ran the excess hemp twine through a 2" loose-leaf notebook ring and knotted again.

13.  Finally, I tied clear fishing line (a big thank you to my boys for letting me cut some off their fishing poles!) to the ring and ran it up to the cross joint in the ceiling tying it so that the tent fabric just skims the floor.

Once I had it hung, the untrimmed white square looked like this...


I used a ruler and a pencil and lightly drew a line about 9" below the edge of the hoop. Then I shortened the white topper with pinking shears to get a zig-zag edge. If you don't have pinkers, just use scissors.


I'm looking forward to hearing the kids' opinions of the new tent vs the old tent. I have my fingers crossed that they will approve!

Cost breakdown:
hula hoop   -   free
blue & white fabric (using 50% off coupon) - $9
muslin (using 50% off coupon)  -  $9
hemp twine, ring, fishing line, pvc cutter -already owned

In case you don't know, you can easily get JoAnn Fabrics coupons by signing up for text alerts, by mail, or by downloading the JoAnn app for iPhone. I NEVER pay full price for anything. I also watch RetailMeNot for free shipping codes if it is something I need to order.

If you have any questions about this tutorial, please email me. I'm happy to help. We would love for you to follow our blog or join me on Pinterest!


Now.... I'm off to start packing for our family vacation. We are heading to St. Thomas in the US Virgin Islands. Yes, I'll be the one on the lounge chair under the palm tree with a little umbrella drink in my hand and my nose in a book! Here's to summer vacation!   ~ Kelley


April 1, 2012

How to Build a Therapy Ball Rack (and a Bonus Project!)

As promised, here is the tutorial for building a cheap-o therapy ball rack for your Sensory Break Center. I use mine to store two different size therapy balls and two different size hippity hops (only one is pictured because I'm currently patching a leak!). You can use this basic format to make your rack whatever size you need to accommodate your therapy balls.


Materials you'll need:
3/4" PVC pipe
8 - 3 way connectors
4 - "T" connectors
8 - threaded connectors (optional depending on your 3 way connectors)
4 - caps
PVC pipe cutter

Basic Directions: 
1.  Decide how many balls you want to store on each level of the rack. Measure the diameter of the balls. You will want to plan to create your racks about 2-4" narrower than the diameter of the balls.

2.   Use the PVC cutter to cut 4 pieces of pipe to the desired length and 4 pieces to the desired width of the top rack. Trust me... buying a PVC cutter is worth it! I've cut PVC with a saw before and you end up with really jagged edges. I think I spent about $10 on mine at Home Depot.  This is what you are looking for...


3.  Connect 2 longs and 2 shorts with the 3 way connectors (see #1 in the picture). This will form the  "frame" for the top rack.
3 way connector

4. Take the remaining 2 long pieces and cut them about 2" from the ends. You will connect the small piece that you just cut off into the 3 way connector and then join the remaining long piece with the "T" connector (see #3 in the picture). This allows you to add feet if you wish for the rack to stand off the ground.
T connector


5. My 3 way connectors were threaded on one end so I had to purchase the male adapters (see #2 in the picture). If your 3 way connectors are not threaded then you can skip this step.

Male adapter

6.  With your handy dandy PVC cutter, cut 4 pieces of pipe to the desired height of the bottom rack. Connect the top rack to the bottom rack.

7. Cut 4 pieces of pipe 3" long (see #4 in the picture). Connect them to the "T" connectors on the bottom rack and finish off with 4 caps (see #5 in the picture).
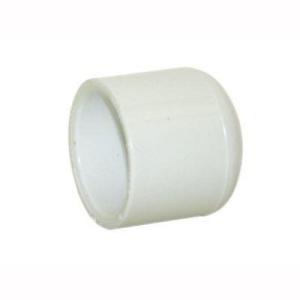
Caps for bottom of the feet


8. Once you know that you have all your parts cut correctly and fitting nicely, pull them apart and apply epoxy. Once it dries you will have a sturdy, inexpensive ball rack for your Sensory Break Center!

~~~~~~~~~~~~~~~~~~~~~~~~~~~~~~~~~~~~~~~~~~~~~~~~~~~~~~~~~~~~~~~~~~~
As a little bonus, I thought I'd show you my first PVC project. When I was working out of a crowded portable, I found it necessary to find a way to visually block off distractions in the room when working with students. I created screens from PVC and fabric and have been using them for years. They are great because they are lightweight and easy to store when not needed. At the end of the year when we have to pack up our classrooms for summer they are easy to take apart and store until the following year.


Materials needed:
3/4" PVC pipe
2 - "L" connectors
4 - "T" connectors
4 - caps
fabric the length and width of the screen plus 6" in width for seam allowances

1. Cut 2 pieces of pipe for the width of the screen.
2. Cut 2 pieces of pipe for the height minus 8-10" for the legs
3. Cut 2 pieces of pipe for the legs (8-10")
4. Cut 4 pieces of pipe for the feet (4-5")
5. Connect the side pieces to the bottom cross pieces using two of the "T" connectors.
6. Connect the lower legs to the bottom cross pieces at the "T".
7. Add two more "T" connectors and add the feet with caps.
8. Measure your frame and lay out your fabric. You want to sew two channels down the sides of the fabric about 1/2" wider than the diameter of the pipe. You want these channels to fit very snugly around the pipe. Once you have sewn the channels, slide it down over the side pipes and connect your top cross pieces with the two "L" connectors.

I use several of the screens in my room for various purposes. They block the Sensory Center when it is "closed", they screen students during work times who need to block out visual distractions, we can also move them into the bathroom for older students who are toilet training and need some privacy.

I hope these ideas help! ~Kelley
March 22, 2012

The Sensory Break Center

I'm fortunate to have a nice big classroom with space for a Sensory Break Center in my current school. Previously, I was crammed in a tiny portable with several other teachers and had to make do with an overloaded shelf in a closet. This is what I looked like on most days!
In this classroom, I have set up an area with the Learning Zone and Zones of Regulation tools. If you'd like to download the Learning Zone poster, please click here.


We have tools for various sensory needs (visual, auditory, gross motor, fine motor, proprioceptive, vestibular). I have gathered tools from yard sales, raiding my kids' closets as they outgrow items, and purchasing some items with the small allowance we are given each year to spend on materials in our district. Over the years I've been able to accumulate the items that get the most use and weed out unnecessary items.

Here's an overview of how the area is set up. I placed bookshelves on either side with the smaller fine motor items. The gross motor items are in the center. The Learning Zone and Zones of Regulation tools are on the bulletin board. The therapy balls and Hippity Hops are stored on the ball rack.


Here are some close-ups of the fine motor items...


The kids LOVE the Yoga Pretzels visual cards and the Finders Keepers toy...


the green toy (I can't remember the name of it!) is a fave...


The Theraputty, Rubik's Cube, and homemade magnet jar help calm many of my students who need to "shut out the world" for a little while. The magnet jar is just an old mayo jar with cut up pipe cleaners. I found the magnet wand at WalMart.


The Play-Doh and stress balls are also handy to grab for a quick break.


The Brain Noodles are super popular with several students. When they sit down with these for a quick sensory break they truly block out the world! It helps them re-charge. I think I found these on clearance for next-to-nothing at WalMart.


I also made a few cheap-o rainsticks with different sounds out of cardboard tubes, rice, and beans.

Some of the tried-and-true items that seem to work the best for the kids and were worth the purchase price are the Pea Pod (we call it the canoe),


the Exerbug,

the mini-trampoline,

the Body Sock,

the Lite Brite,

the ViewMasters,


the Brain Noodles

and the exercise bands.


This year I made a ball rack to keep the therapy balls and Hippity-Hops from rolling all over the place. It was a cheap, easy way to keep the area a bit neater. This week, I promise to take close up pictures of it and post how to make a cheap-o ball rack.