Showing posts with label Tools. Show all posts

March 8, 2015

Building A Sensory Light Table (on the cheap!)

I've been adding elements to our sensory room (I promise to post a new picture soon!). I wanted to make sure to address visual sensory needs more fully, so this weekend I built a light table. The requirements for this project was that the finished result needed to be:
(1) easy to build
(2) easy to store
(3) super cheap.

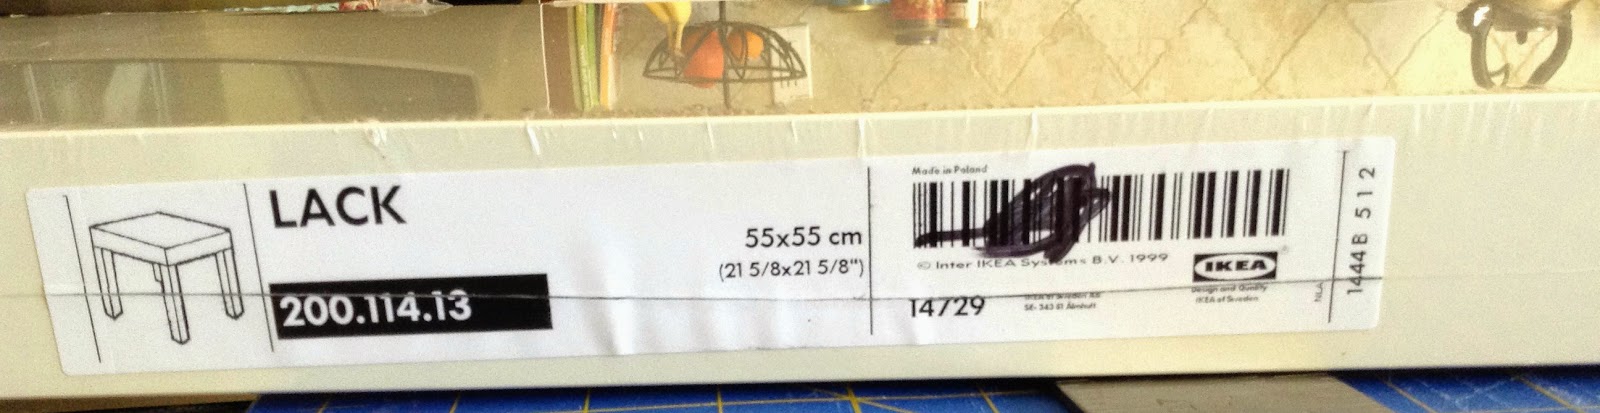
I stumbled across an Ikea Lack end table on clearance for $4 last week and picked it up hoping it would be something I could use for this project. Even if I'd had to buy it, the sale price was only $7, so that wouldn't have broken the bank. I've also seen these often on Craigslist.



The only other supply I needed to purchase was something to cover the top. Originally, I wanted to use plexiglass, but after pricing the size sheet I would need, I decided that the $25 price tag was more than I was willing to spend. Instead, I picked up a sheet of plastic paneling that covers florescent light fixtures. It cost $9.


The last item I needed was lights. Buying short florescent light fixtures was going to bump the cost back up, so I snagged a strand of 100 white Christmas lights.


Now, the how-to:

The top of the Ikea lack table is actually filled with corrugated cardboard and covered with a thick layer of laminate. I measured about 2" in from each side and started scoring through the laminate with a utility knife. This took a little while and a little muscle. Once I got through the laminate, I had to stick the end of my utility knife in and wiggle it back and forth to force through the final underlayer of laminate.


Pry up the laminate. You'll see the cardboard beneath.


Scrape out the cardboard. Get rid of all the loose bits clinging to the glue at the bottom.

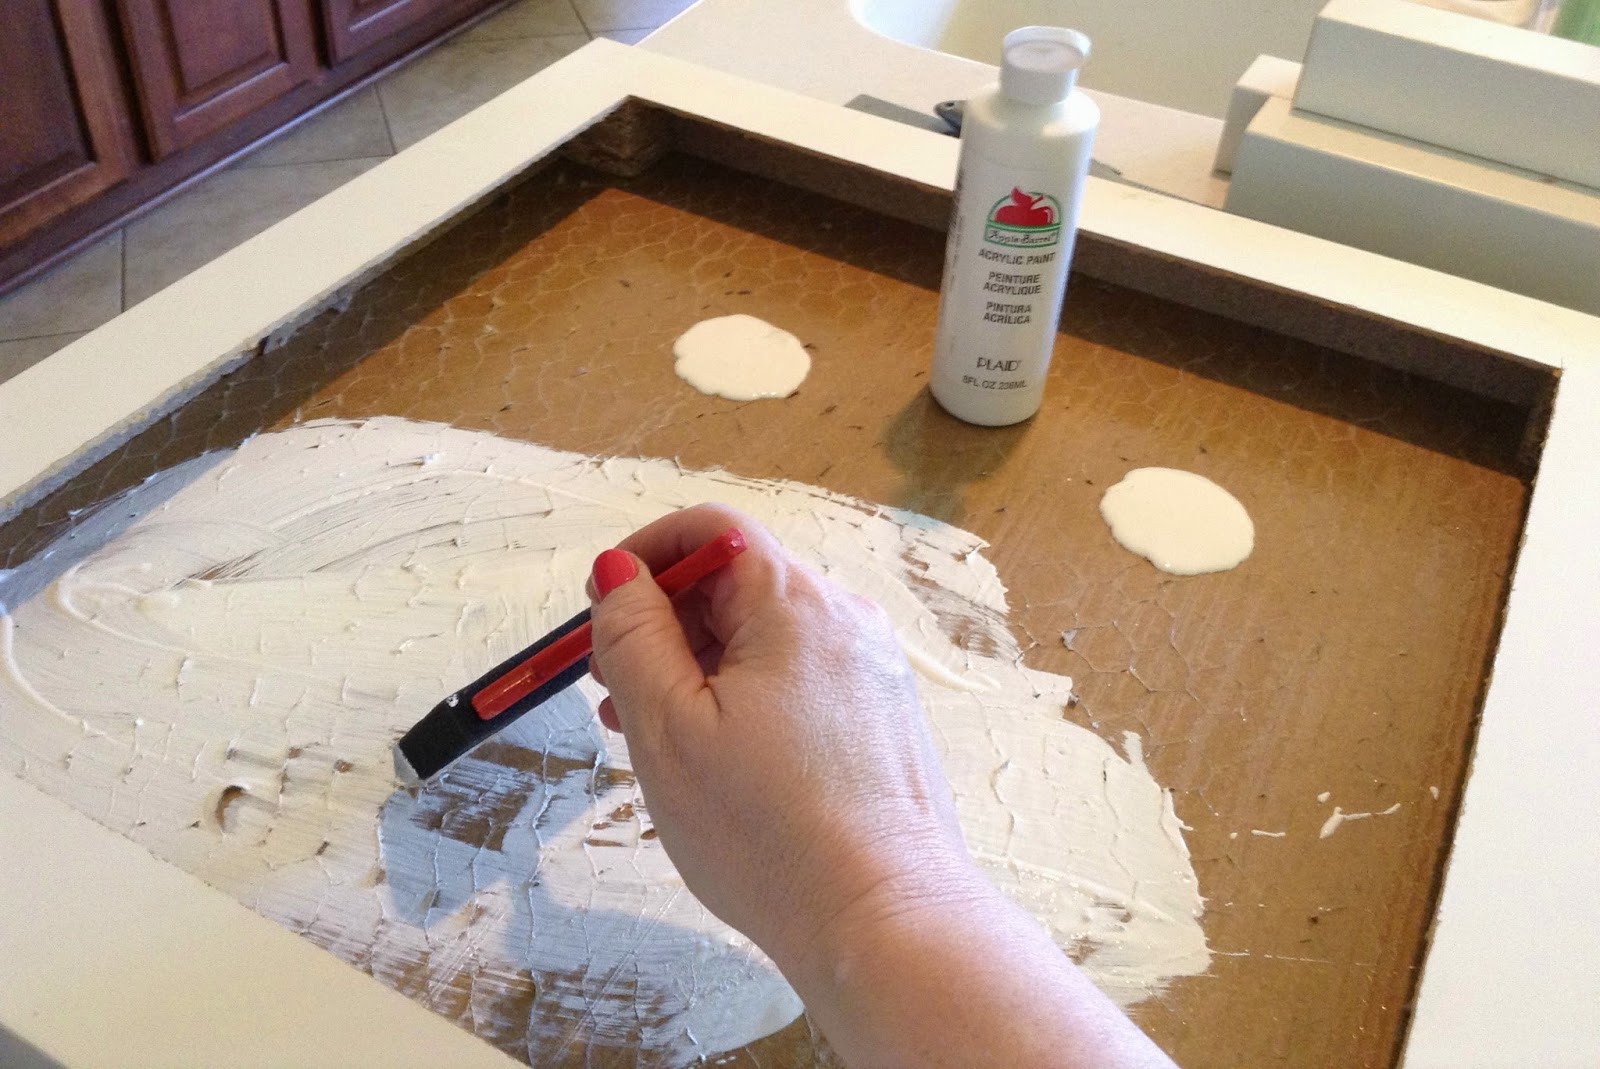
Paint the bottom with white craft paint and a sponge brush. This does NOT have to be perfect. You'll never see it. You just want to white to help reflect the light.


Screw your table legs in place.


Now, the tricky part. Because I didn't want to invest in a battery pack, I had to create a hole large enough to fit the female end of the light string. The largest drill bit I own is 1/2" which wasn't large enough. So, I did a combo of drilling a couple of holes close together and then using a large flat head screwdriver as a chisel and hammer to break away the remaining wood. Is it pretty? No. Is it functional? Yes. And I figured since it would be facing the wall, I'd just touch it up with a little white paint and no one would be the wiser!


Feed the lights through the opening leaving just the plug portion exposed to attach to an extension cord.


Arrange the lights across the surface. To keep them from shifting, I tacked some of the cords in place with a little clear packing tape. If I'd had a choice of lights, I would rather have used ones with white cords. But finding Christmas lights in March is not easy! I decided I either had to be less picky and ignore the green cords, paint them, or wait to build this once stores started stocking for Christmas. I voted for ignoring!


Now, I had to cover the top. Here's what NOT to do! Sigh. The width of the light panel was a little less than 1/4" larger than I needed. I elected to let it overlap each side about 1/8" instead of trying to cut the brittle plastic. The problem was that the entire panel was 48" and I only needed two pieces measuring 21 1/2". At first I tried scoring it with the utility knife with no luck. We're talking brittle hard plastic. 


So, I finally got frustrated and slowly bent the two pieces together *hoping* that it would just split in half. Well.....it did, but not evenly. One side was fine. The other had a corner break off. And shards of brittle plastic shooting all over my kitchen. Yikes. I do NOT advise being impatient like me! In retrospect, I would have wrapped masking or painters tape on both sides of the plastic and either tried to cut it with a jigsaw or a router. It still might come out a little uneven, but I suspect it would be better than my mess. If you have the money (or are too perfectionistic to live with imperfections!), order plexiglass or an acrylic sheet cut to size. If you go the route I did, just know that it will NOT be perfect. But it will work. If I worked in a clinical setting where we might use this table many hours a day, I would spend the extra money. But since I'm in a classroom setting where we will only use it in short increments across the day, this will be durable enough for our purposes. Use your judgment.

Because of the flex of the plastic, I laid the two bumpy sides together, so the strength would be doubled. It worked well and also helped by bluring the view of the light strings.

Last, apply a little tape on the corners of the plastic, lay it in place and drill a hole in each corner. Peel off the tape, clean away your sawdust, and use wood screws to attach.


We are using our light table with translucent geometric shapes. Magnatiles are on my wish list to add to our light table stash. We also plan to do artwork by covering the table in translucent plastic wrap (to prevent seepage) and then use additional clear plastic sheets to paint or draw on. The play of light on different art materials will be great fun! 


Questions? Post them below in the comments! Happy light table building! ~Kelley

May 20, 2013

End of Year Transition Issues for Kids on the Autism Spectrum


We are all counting down the days until summer break begins. Even though time off sounds exciting to both students and teachers, it can be a minefield of challenges for our kids on the Autism Spectrum. All too often those "fun" activities can create extra stress and anxiety in our students with ASD. I have a simple suggestion that makes a world of difference!

Start NOW while things are relatively sane and help your student create their own calendar for the last 3-4 weeks of school. Note all the days where there will be unusual events such as assemblies, track & field day, class parties, field trips, etc. You can also make note of all the days that are "regular" schedule days. Consider color coding the regular days. Your student will then be able to preview and plan ahead for the changes that will occur.

I usually use this calendar because it is simple and non-distracting:
 Click here to download


The week before school gets out, I send the following calendar home with students and ask their parents to help them fill it out. I know that the kids seem really excited to get out of school, but going from structured to unstructured days can create significant anxiety. I explain to parents that it is helpful to help their child structure their first week of summer and that they will likely experience a more peaceful start to their vacation.

Click here to download
I hope you find these tools quick and easy to use with your students with ASD.  ~Kelley

February 6, 2013

Shoe Tying Visuals Galore! ~ by Kelley

I've been working with the 5th grade students with Autism to develop their shoe tying skills. Many students wear shoes with velcro straps, which works fine in elementary school. Unfortunately, as kids grow out of child sizes and into adult sizes it can be much more difficult to find shoes with velcro fasteners. I've tried to emphasize to parents the importance of their children becoming comfortable with this skill before entering middle school.

The students watched me demonstrate two different methods - the traditional method and the double loop method (what we call rabbit ears). They got to choose which method they wished to practice. So far, the double loop method has proven to be easier for the students.

I'm going to post visuals here that I adapted from the website Ian's Shoelace Site. If you've ever wondered about all the bajillions of ways to lace and tie shoes, that is the website for you!

Feel free to provide these links to students and parents to provide practice opportunities at home. As you can imagine, special ed teachers and therapists have limited time to spend on this at school so the more often they practice at home the more proficient they will become.


Double Loop/Bunny Ears Method (click to download)


Traditional Method (click to download)


November 4, 2012

Easy Lessons to Target Play Skills & Sharing

Orlanda and I have spent a considerable amount of time over the past 6 weeks in our collaborative speech/social thinking groups working with our "littles" on basic play skills and sharing. We have two small groups (4 kids each) that we needed to target these skills. One group is made up solely of Kinder students who have significant speech and language delays (both articulation and pragmatic language) and ADHD. The second group is made up of Kinder and 1st grade students who all have pragmatic language deficits, but are "higher" than the first group. The students in this group have Autism Spectrum Disorder and Speech Impairment.

We grouped the lessons in this unit into indoor play skills and outdoor play skills.
During the outdoor play lessons we listed different activities that the kids like to play outside and which were solitary activities vs activities they do with others. After choosing a few of the most common activities on the lists, we taught the explicit rules and defined the "hidden rules" for those activities. We read portions of The Social Skills Picture Book by Jed Baker, PhD that related to outdoor play.
We then took the kids outside to the Kinder playground when no other students were outside to practice taking turns with the balls and playing a simple game that required joint attention. The kids did a great job.

Next, we began to target indoor play skills. We specifically wanted to make sure to address the kinds of activities the kids engage in Kindergarten and 1st grade "centers". We again made lists of activities they did indoors and divided them into solitary vs activities done with others. We read applicable parts from The Social Skills Picture Book again and discussed "hidden rules" for playing with others during centers. We spent several sessions watching and discussing the lessons on sharing and taking turns from Playtime with Zeebu. The kids loved Zeebu and it provides a great anchor to remind students to share in the inclusion setting.
We spent a session reading a picture book on sharing. For the Kinder students with less language sophistication, we read Will Sheila Share? by Elivia Savadier. For the combo Kinder/1st grade group, we read I Am Extremely Absolutely Boiling by Lauren Child.

Finally, we spent several sessions practicing sharing and indoor play. During the first session, we used wooden trains and train tracks (which worked really well since there is an example of sharing/not sharing with trains in the Zeebu video). During the second session we used Legos. Before the first session we spent time teaching various phrases that could be used to initiate play and to help facilitate sharing using this visual.

When we played with train tracks I initially "controlled" access to the tracks handing out one or two to each child and then prompting them to use the scripts to ask for more from me or from a peer. When we did the Lego activity, Orlanda gave each child a small pile of Legos that they eagerly started building with individually. Sure enough, they soon wanted more. They were prompted to ask a friend for a piece. Ya gotta love a little sabotage! :) We do have a few students who we wanted to target accepting "no thanks" from their peer for an answer while we also had one particular student who tends to get run over by his peers and we wanted to help him know it was ok to say "no thanks" at times. This led to some interesting interactions!

I have worked on generalizing the skills from small group to the inclusion classroom by using this powerpoint social story. I just load it on one of the classroom computers in the specific classrooms and prompt the kids to read it (either independently or with me) before center time. Feel free to download it for your use!


I hope that you will find the lesson ideas and tools to be useful with your students.  ~ Kelley

September 18, 2012

My Favorite Lesson Planner

I've never been able to use a lesson plan book because there are not enough compartments in the day. I teach anywhere from 6-10 lessons a day depending on the schedule. I've tried various ways of lesson planning in the past, but I finally found a system last year that worked well for me. I created a template from a simple Word document so I can add or delete columns each semester as needed.

This year I had to add a second page. I now have one page with academic lessons...
and one for Social Thinking Groups...
I hole punch the pages each week and hang them with notebook rings on the front of an open file box.

The box contains info that I need at my fingertips. I like this system because it keeps the lesson plans within sight. Since Orlanda and I co-teach social groups, she can also view the lesson plans if I am held up with a student issue.

If you'd like to use this template, feel free to download it here.
I'd love to hear about how you write your lesson plans. Please share your ideas in the comments!

Please join as a follower if you haven't already! 
~Kelley

July 30, 2012

How To Make A Sensory Tent For Small Spaces


For the past couple of years, I had a big, roomy classroom with plenty of space for everything. Because our school is growing so quickly, I knew that it was only a matter of time until I lost my big classroom and would be moved to a smaller space. I really did not want to end up having to share a room with a bunch of other teachers (been there...done that...doesn't work so well for my students!). I decided to offer to preemptively move into a small therapy area with the hope that it will be the last move for a while and that I will only share space with my Paraprofessional.  I knew it was going to be a big adjustment and that I would have to be very deliberate in what I chose to put in the space.

Sadly, I realized that my favorite tent was going to take up too much floor space. I took an inspiration picture from Pinterest (of course!) and decided to tweak it to meet my needs. Here's the inspiration photo from Sew Liberated.

Drum roll please..... Here's my new Sensory Tent!

It takes up much less space than the old square tent. The only addition I have left to do is add a piece of Velcro from the inside so the kids can keep the flap closed if they wish. Inside the tent I put one of my beanbag chairs and I'm on the hunt for a square rug to anchor the space. I also have a weighted teddy bear that the kids can take in the tent with them as well as a blanket.


 Here's the tutorial to make an inexpensive Sensory Tent!

1.    Gather your supplies: I chose to use an old bent hula hoop from my gross motor equiment. It is a child's size (about 30" diameter). You could go even smaller if you got one that is a 24" diameter.  Using a 50% off coupon, I bought 3 yards of 45" wide cotton fabric (the blue and white stars) and 3 yards of 90" wide bleached cotton muslin.


2.   Cut the hula hoop in one spot. I used my handy dandy PVC cutter that I bought for the therapy ball rack project and pvc screens. Check those out here. If you don't have one, just use a hand saw. Your hula hoop will probably be too hard to use scissors.


3.  Next, I cut my blue & white fabric into two sections (2 pieces - 1 1/2 yards each) and sewed them together using one 1/2" seam to make a long rectangle (1 1/2 yards x 90" finished). You can see the seam in the picture above of the hula hoop.

4.  I knew that the circumfrence of my 30" hoop would be about 96", so I was going to be a little short if I wanted the tent to be able to close. I decided it was important for the kids to be able to visually block out as much stimulation as possible, so I cut two 4" x 1 1/2 yard strips from the muslin and stitched one onto each side of the rectangle to now have the rectangle measure approximately 1 1/2 yards x 98". Sorry, I forgot to take a picture of that step!

5. I ironed in a 1/2" hem along the two exposed white edges and stitched.
  

6.  Next, I ironed in the bottom hem and stitched. I think I only did a 1/2" hem because I was trying to preserve as much length as possible.

7. Then I ironed in and sewed a rod pocket along the top. You will need to make sure you allow enough fabric to account for the diameter of your hoop plus a little for wiggle room. I made a 6" pocket which was more than enough. I probably only needed a 3-4" pocket. So, play with your fabric and see how much you really need.
 

8. Then I slid the cut end of the hoop through the rod pocket.

9. I taped the two cut ends together with duct tape. After taping, I rotated it around so that it would never be seen in the opening between the panels.


10.  After making sure the tent was evenly distributed around the hoop, I cut 4 evenly spaced SMALL holes in the rod pocket and ran a long piece of hemp twine through each one, knotting around the hoop. I already had the twine. If you don't, just make use of what you have (regular twine, heavy yarn, fishing line, etc.).


11. I decided how tall I wanted the "peak" to be and tied off all 4 cords into a tight knot. You can't really see it in the above picture, but it is underneath the white fabric.


12. Next, I took the remaining white muslin and cut a 90" square. I made a small cut in the very center that was just big enough to go over the knot in the twine. Once the fabric was over the knot in the twine, I ran the excess hemp twine through a 2" loose-leaf notebook ring and knotted again.

13.  Finally, I tied clear fishing line (a big thank you to my boys for letting me cut some off their fishing poles!) to the ring and ran it up to the cross joint in the ceiling tying it so that the tent fabric just skims the floor.

Once I had it hung, the untrimmed white square looked like this...


I used a ruler and a pencil and lightly drew a line about 9" below the edge of the hoop. Then I shortened the white topper with pinking shears to get a zig-zag edge. If you don't have pinkers, just use scissors.


I'm looking forward to hearing the kids' opinions of the new tent vs the old tent. I have my fingers crossed that they will approve!

Cost breakdown:
hula hoop   -   free
blue & white fabric (using 50% off coupon) - $9
muslin (using 50% off coupon)  -  $9
hemp twine, ring, fishing line, pvc cutter -already owned

In case you don't know, you can easily get JoAnn Fabrics coupons by signing up for text alerts, by mail, or by downloading the JoAnn app for iPhone. I NEVER pay full price for anything. I also watch RetailMeNot for free shipping codes if it is something I need to order.

If you have any questions about this tutorial, please email me. I'm happy to help. We would love for you to follow our blog or join me on Pinterest!


Now.... I'm off to start packing for our family vacation. We are heading to St. Thomas in the US Virgin Islands. Yes, I'll be the one on the lounge chair under the palm tree with a little umbrella drink in my hand and my nose in a book! Here's to summer vacation!   ~ Kelley